
Continuing from the previous post, just a few notes about the Numeric shifter install. To repeat a bit of the intro to that post, I did not like how much wiggle there was in the stock shifter. Keeping in mind, this is an 18 year old car, and when I pulled out the stock shift assembly the date code stamped in the plastic was 09-90. It is possible that from the factory, the feeling in the shift assembly was originally less loose. However, I really did not like that when the car was in gear or in neutral, I could wiggle the handle around a fairly significant distance. Purchasing the whole Numeric kit (short shift assembly and shift cables) was perhaps impulsive, but forced me to learn how this system works. Due to the indirect nature of shifting-via-cable, there is a number of places where slack can develop in the system:
- Mis-adjustment in the cable linkages (relatively easy to fix).
- Failing tolerances in the shift assembly (as in, plastic parts wearing out).
- Failing linkage assembly on the transmission side (may be partially solvable by cable adjustment).
- Movement in the cables themselves (? seems less likely but possible I guess).
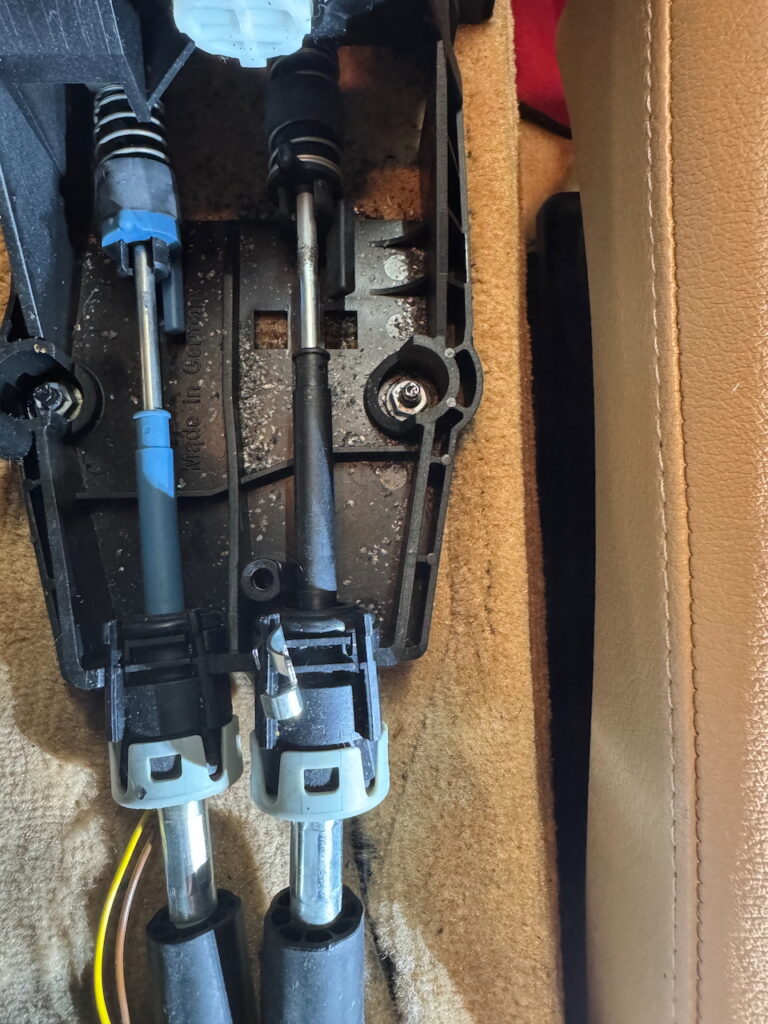
You can easily adjust the stock cables by pushing up on the “cable rod end springs,” the plastic + spring contraption that connects the shift assembly to the shift cable. You can push these up and twist them to lock them open (which I didn’t figure out until it was too late to be useful). You can kind figure out where to best land the cables to reduce the amount of play. I should say at this point, this advice is largely speculative as I didn’t figure this out until I’d installed the Numeric shifter. This is mostly just observation after the fact: I think I did a better job fixing the back-and-forth motion and a less-good job adjusting the left-right motion, as I still have a bit of wiggle in the left-right and almost none in the front-back direction.

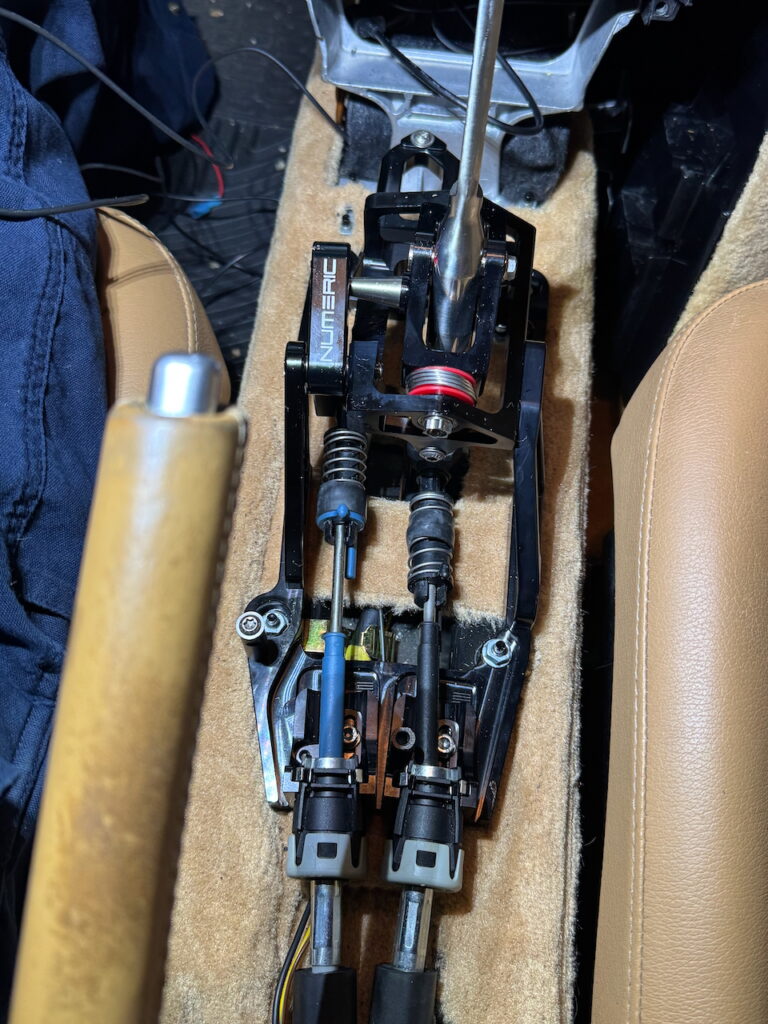
Anyway. Having removed and examined the stock shift assembly, I have to say I am impressed at how good of condition it is in. Since doing this job, I’ve read a lot more about upgraded assembly pieces for the stock shift assembly, and I can imagine that being a decent route to go down. For me, no regrets, I prefer a stiffer response that feels decisive, and I think the all-metal Numeric assembly was the way to go.
Since this job is fairly easy and also well-documented online, I’m just going to point out a few things I noticed. First of all, the stupid speed nut for the subwoofer was broken when I got to it, I guess a previous installer cranked it too hard or something. I didn’t fully realize what was going on when I took it off, but did manage to get some pliers on it and get the stupid thing off. Since I wasn’t going to wait for shipping to get a new one, I managed to get some vice grips on it locked down strong enough to reinstall the subwoofer bolt (screw?). Then I ordered a new one, so the next time I take this all apart I will replace it.
Another note that the carpet piece on the driver side never felt like it was seated correctly, it was a little wiggly. I thought maybe I just wasn’t getting it slotted into place correctly but after trying it several times, I just accepted that it was a little, shall we say, “adjustable” even after it is screwed down. ¯\_(ツ)_/¯
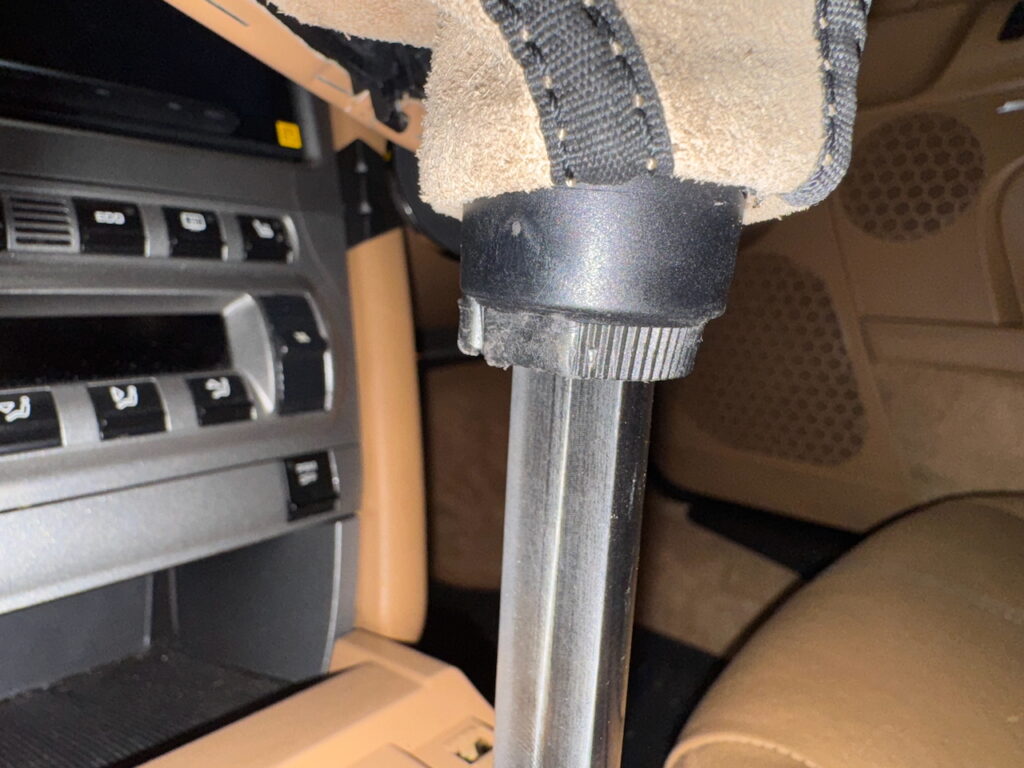
I had a hell of a time getting the plastic widget in the correct position. It is pretty difficult to tell if you’ve rotated it 90 degrees or not. I found when the little bump was in this position, rotate clockwise to be slightly left of center, was the correct alignment. I skipped using any grease or lubricant to get the handle back on and regret that, it’s still not fully seated. I need to get a rubber mallet.
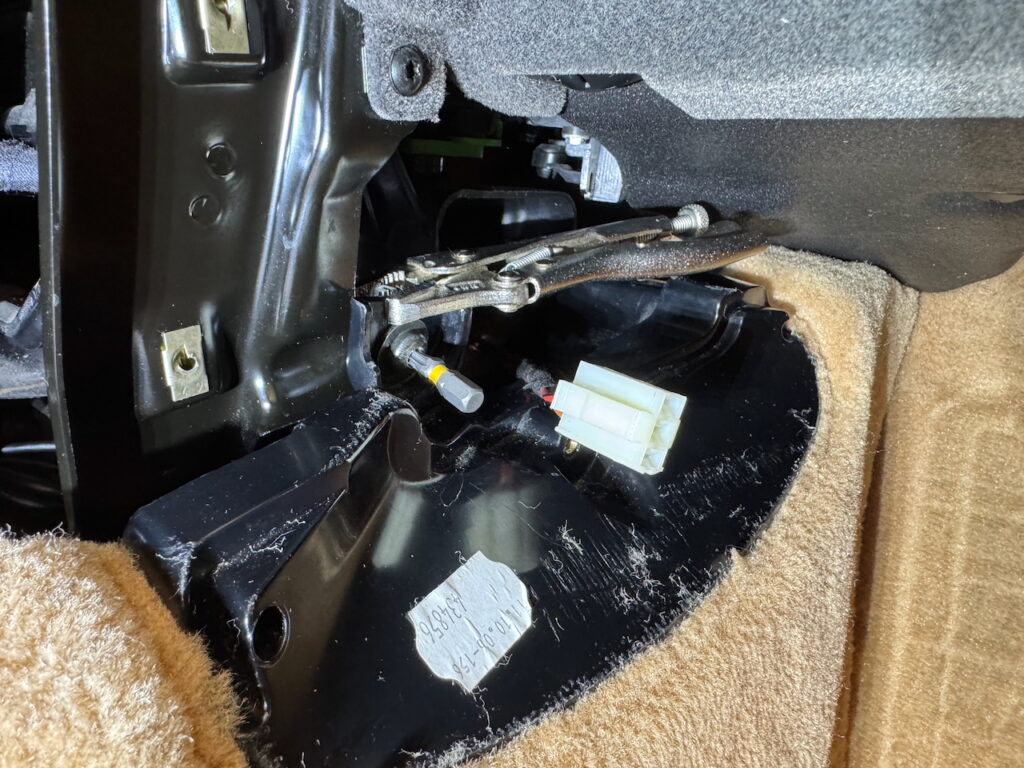
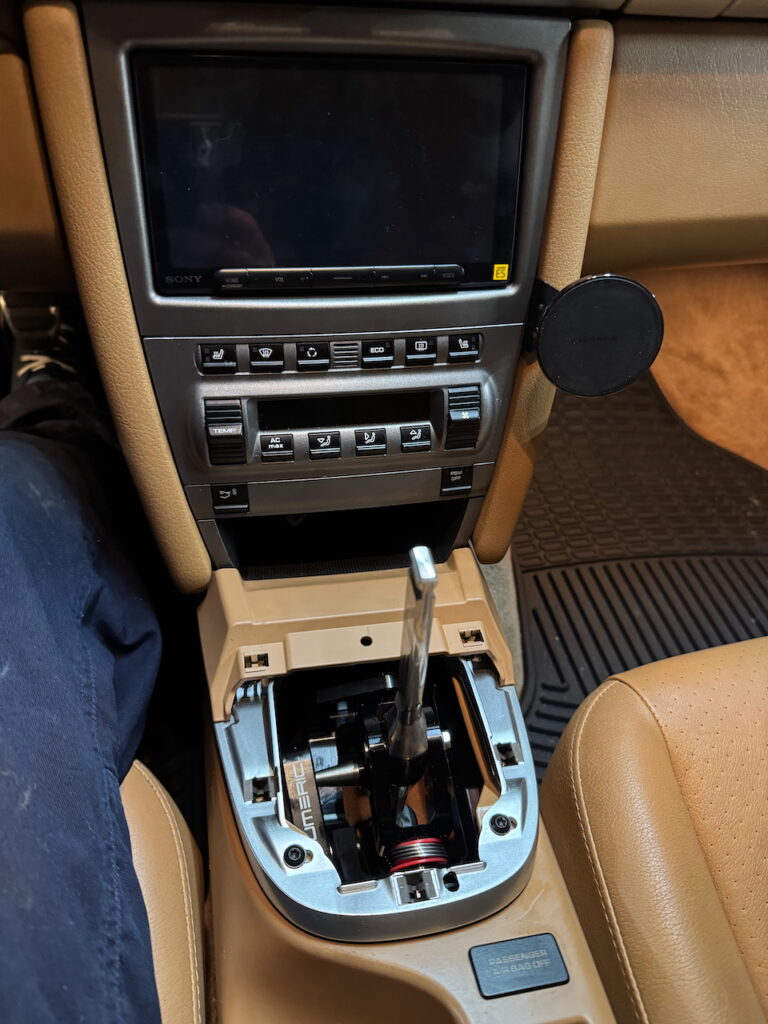
When I had the center console pulled off, I noticed a lot of weird flaky metal stuff all over the shift assembly and underneath. I have no idea what this stuff is or where it came from. I first thought it was grease that hardened and flaked off, but it seemed to hard and metallic for that. I can’t imagine what disintegrated in there to cause that mess, maybe it was just factory installed junk? It vacuumed up just fine and I was dumping the factory shift assembly anyway, so I just moved on. If anyone knows what that could have been please leave a comment!


One thing I discovered by happenstance. People complain about this right-side clip being too close to the screw post to be removed. While this is true, you can wiggle the right side of the clip off and then it just kinda flips up. From here, you can remove the shift cable out of the bracket. You’ll lose your clip at this point (e.g. it will fall off), so make sure to put it back on the same way BEFORE pushing the cable back in the bracket during re-installation. Then you can just swing the clip down and snap it in place and you are all good. Obviously, this is only useful information if you are retaining the stock shift cables.
Finally, because there are not a lot of good assembly pictures, here are a few pics I took of things coming together. This isn’t rocket science, but just for what it is worth. I did my best to compare the relative position of the shift handle at various installations (shortest shift and middlest handle hole position) to the stock shift handle. It’s obviously not scientific but gives you a sense of the difference (a difference of millimeters, but big difference in feel). I initially installed it on the shortest (top-most) hole, but didn’t like the feel on a test-drive. I wound up using the middle hole and putting the car back together, and fortunately really like the feel in that position.


I didn’t get a good picture of this but did cut the carpet beneath the shift handle. I managed to cut a small square that just allowed the movement of the handle in the shortest position. Then I tucked that carpet square under the cables, just in case that was a load-bearing noise-reducing piece of carpet. You can see how little I cut out if you look just under the shift handle area in this photo, it really is all you need to cut out. Just enough to allow the free motion of the handle ball and cable attachment.
A final shot of the entire stereo + shift assemby project (almost) completed and looking shiny.
And that is it! Still TBD is to replace the factory cables with Numeric’s cables. I’m glad I did not do this all in one go. It will be a pain to disassemble the center console again, but it gave me a chance to inspect the various linkages at the transmission side to see what might need to be replaced, repaired, or just re-greased. I hope this helps some DIYer working on a similar project!